
Mother Board Removal
[Return to the 1st page]
New mother boards can be purchased from:
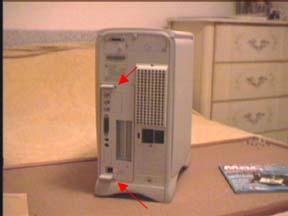
Make sure you grounded yourself by touching the PCI slots before the power cord is removed. Now removed the power cord.
Remove these 2 screws
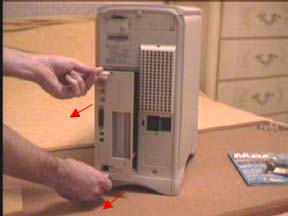
Pull on these 2 tabs straight back until the mother board is all the way out. Place it on the magazine so you don't damage the backside components while your working on it.
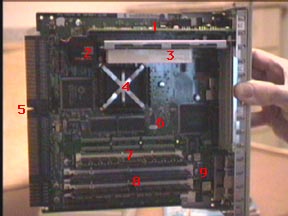
Below is the mother board with various components pointed out:
Always press the mother board reset button once installation or removal of any card is complete
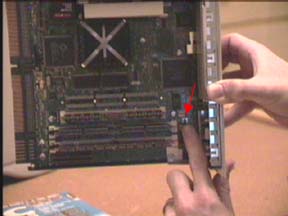
reinstall in reverse order
You can now install / remove: