Drive sled kit can be purchased from:
If you are going to install a CDROM then note that there is no bezel designed for a CD drive in the upper bay. I just fabricated my own CD bezel from an old bezel I had and it came out ok. With some more planning and a little talent you could make a very nice CD bezel.
The SCSI bus is a SCSI-1 50pin design but will work with 68pin HD's with a 68-to-50 pin adaptor. Any type SCSI drive will work with or without the adaptor depending on pin out size but you will not see the full speed of your drive as the 6400's SCSI bus is only rated at 5Mbps max. This is the same for the internal SCSI bus and external SCSI bus as they are actually the same bus.
You must first have removed the front & top covers
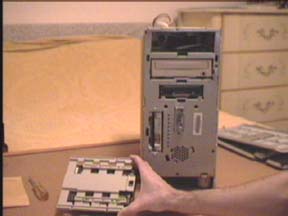
This page assumes a drive is present in your upper bay. If not then follow it in reverse to install a new drive. You can install any 5.25" or 3.5" drive in this bay. There are only bezels for Zip or Jazz sized drives though. A CD-ROM will fit but you will not be able to use a front bezel without cutting it to allow access to the CD tray.
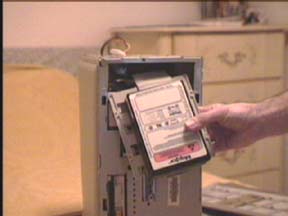
Through the hole on top, try to pull off the power cable from the drive. If your SCSI cable is long enough you will not have to remove it yet. If its to short to allow the drive to be removed with it attached then it will also have to be removed now.
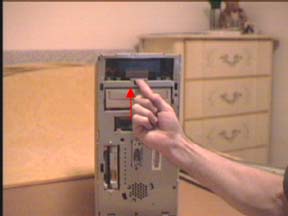
Press up on the clip and pull out the drive
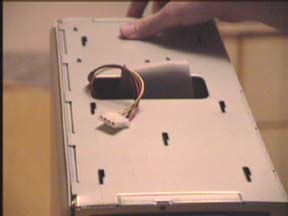
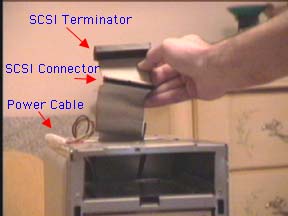
Here is the drive removed with the SCSI cable still attached. Remove it now if you didn't earlier. Take care not to damage the connector or cable.
With the drive removed you can see the entire SCSI cable end. At the very end is the terminator for the internal chain. DO NOT REMOVE this as it will cause you lots of problems without proper termination.
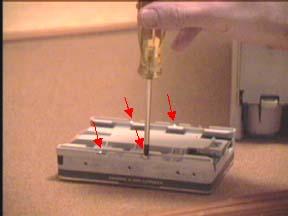
The drive sled removal is similar to all drives so the following pictures will be used over and over
remove these 4 screws
lift off sled
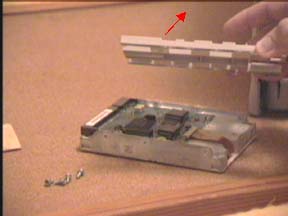
reinstall in reverse order
Some of you may not know this but the stock zip drive that comes with some 6400's and 6500's does have a manual eject button on it. Apple just doesn't think you need it and its covered by the bezel :( There may come a time when you want to press that button if you are having trouble with your ZIP drive so here some info on making your own access hole.
First you must have removed the front covers.
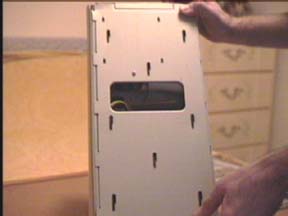
Below is a picture of the upper bezel's back side. Note the circle the red arrow is pointing to. That is the location you need to drill.
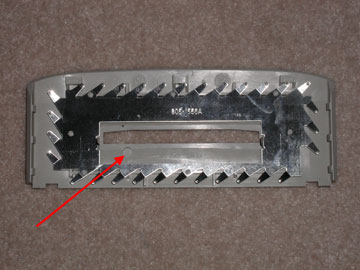
I used a 3/32" drill but you can use a smaller or larger bit depending on how you want it to look. I wanted to be able to stick in things larger then a paper clip to press the eject button in case I didn't have one handy :) Below is what the front of the case looks like with the hole drilled and the cover reinstalled.
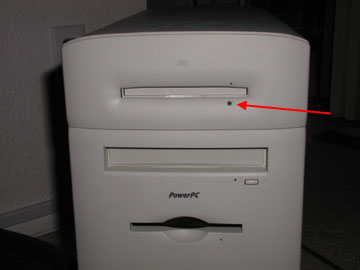
You can see that the new hole (red arrow) does not quite line up with the emergency eject hole above. Minor cosmetic flaw :)